Monday, January 30, 2017

Global Game Jam '17 Writeup - SOS dot WAV

Hey guys, I'm here with my third blog post of the month. I thought I was setting some kind of personal record, but I realized I had 6 posts between February and March 2014. I guess I have a lot to live up to! I felt very inspired reading old posts and I really want to keep this frequent posting thing up throughout the year.

Today's topic of discussion is Global Game Jam 2017. For those who don't know, GGJ is an annual event held every January where developers from all around the world come together to make video games. It's not a competition so much as it is a challenge. There is a universal theme that everyone has to use in their game, and you get 48 to develop the game from start to finish.


This was my 4th time participating in the event, so I had a pretty good idea what to expect. This year, I collaborated on a project with my sister, Michelle Rakar. We developed a short adventure-puzzle game called SOS.WAV using RPG Maker MV. (You can check out our submission page and download the game right here) Our project last year had some complex mechanics with a lot of maps and the framework to be a pretty large game. Although the idea was cool, as a prototype it wasn't all that nice to look at. So this year, our goal was to create a more compact yet polished title with all of our own art assets.


The theme of this year was "Waves." We figured most jammers would make games about the ocean or even the act of waving, so we tried to think of an outside-the-box way to approach the theme. We came up an idea centered around the computer extension ".wav" and made sound files an integral part of the game. (Kinda punny, but it was a pretty unique interpretation).

SOS.WAV takes place on a remote island from our fictional universe, The Nays. You play as Mr. Dude, who is taking a break from all of his stressful duties as World Leader. He comes across a mysterious SD card that washes up on shore. After plugging it into his phone, he discovers that the only thing on the SD card is a single file named 'SOS.WAV.' Listening to the sound clip reveals that someone nearby is in danger and needs his help. The sound file also gives hints on how to solve the puzzles of the island.


We created an interesting mechanic in order to deliver help to the player. You can listen to the sound file at any time, but some of the hints are too fast, some too slow, and others reversed. You won't be able to understand the hints until you unlock the proper playback upgrades for your phone. This took a bit of sound editing to create, but it was really fun to see the mechanic come together.


Overall, there are 4 puzzles (well 3 and a half, the first one isn't very difficult) on the island, and it is mathematically very hard to solve them without first hearing the audio clues. This provides a nice gating feature to prevent the player from breezing through everything, but also gives the player the freedom to try and solve the puzzles by guessing. I think the puzzles are pretty diverse so I'm happy with the interesting designs we were able to come up with in such a short time.
 

The majority of my time was spent drawing out the backgrounds. As you might imagine, making a bunch of full blown tilesets in a single weekend is virtually impossible, so I instead created parallax images in Photoshop that could then be placed in to RPG Maker as a single image. The style is a bit simple, but it was the perfect amount of detail for the time constraints. Even with the shortcuts, it still ate up most of my time. I also worked on design elements, puzzle mechanics, and sound editing. Michelle was responsible for character animation, character portraits, dialogue and all of the UI elements (plus a lot of the design brainstorming too!). I think we split up the work pretty well.


To better suit the parallax background style, we also tried out a plugin that breaks free from the grid of RPG Maker. One of our goals was to avoid that stigma of being "just another RPG Maker game" so we really wanted to push it as far from the stereotypical RPGM look as we could. This multi-directional movement script helped a lot with that and setting up collisions wasn't as difficult as I expected.


All in all, I was really happy how our game turned out. I dare say it is the most complete and polished Global Game Jam project I have submitted so far! GGJ is a great event and every year that I participate, it reminds me of how much I love developing games (...even if it means not sleeping for an entire weekend...).

Words and screenshots only tell you so much though. To really experience the game, you have to play it for yourself. A download of SOS.WAV is available on our itch.io page. It is completely free to play, can be completed in roughly 15 minutes, and should run on just about any Windows machine. Give it a try and let us know what you think!

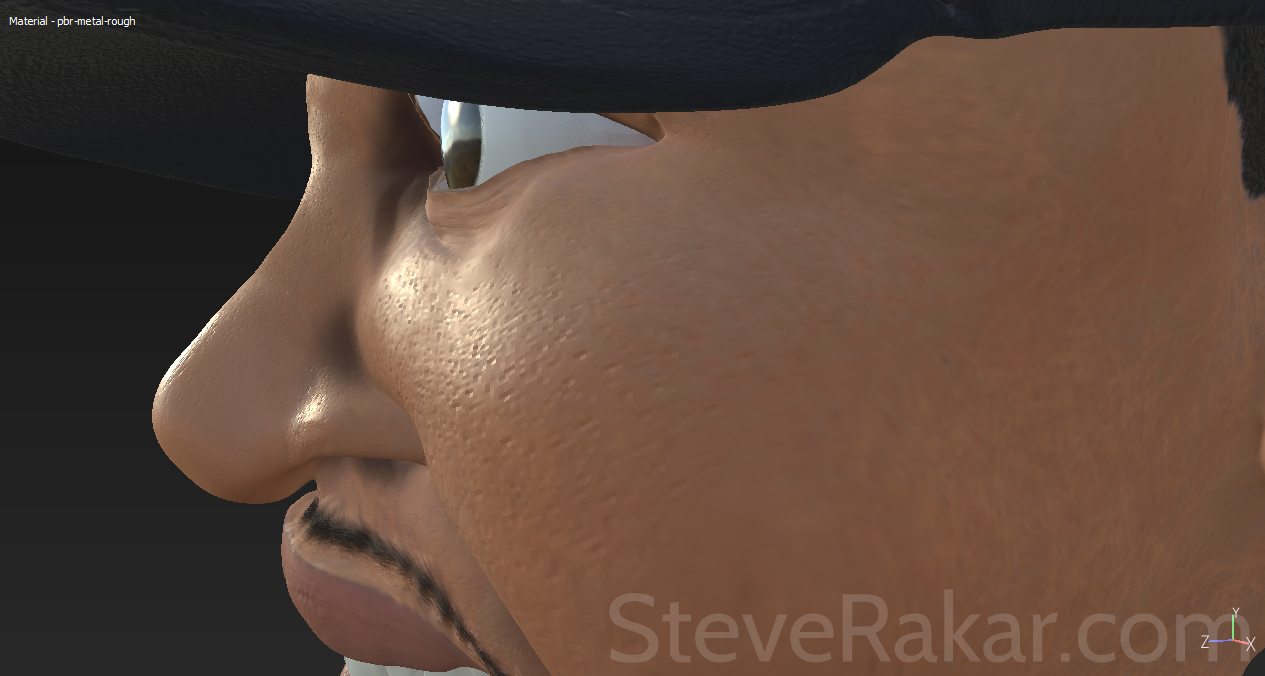
Hoping to continue this schedule with another new post soon. I have a few ideas brewing about what to cover next, but I'm not sure which one will be next yet. Right now I'm thinking about either explaining the cel shading techniques I'm using for a current UE4 project, talking about my adventures in SNES programming, or trying my hand at a process video where I demonstrate how I develop 3D characters. Let me know if any of these topics sound interesting to you in the comments section. Until next time... Adios!

Wednesday, January 11, 2017

Sculpting Francisco Lindor

What's this? Two blog posts in one month? I promised more frequent posts and I'm going to stick to it! Rather than a big dump of lots of different projects, I'd like for my next few posts to be more in-depth pieces where I walk through my process for a single project.


So the first of this series is a sculpt that I created of Cleveland Indians shortstop Francisco Lindor. If there's one thing I love as much as game development, it's baseball. I picked Lindor not only because he's one of my favorite players, but also because he has unique facial features.


Starting things off... this doesn't look very much like him. I started off with a very basic human mesh in Maya with plans to tweak the facial features in ZBrush. I have used this base on multiple projects since I like the way I set up the geometry and it works as a starting point for lots of different characters. The bust is quite low poly, weighing in at 3216 tris.


The UV mapping on this is a little different from my usual approach. I wanted to make sure that the mouth had plenty of room for detail (especially because I planned to sculpt in the teeth). So I cut the mouth area into its own shell. Normally I would try to only have seams in less visible areas, but since I planned to do all of the texturing in Substance Painter, I knew I'd be able to effectively hide those seams. At this point the eyes were actually part of the head mesh, but in order to expand the detail, I eventually cut the sockets open and created new meshes.


After modeling the initial base mesh, I took it into ZBrush for some refinement. As you can see, I made major structural changes to the face. Francisco Lindor has a very unique lip curl when he smiles, so I wanted to make sure to capture that. Since this sculpt isn't intended for animation or game usage, I can go all out in sculpting the facial expression.


After a few hours of sculpting in ZBrush (about 6 and a half, in fact), the face is starting to take shape. Even though ZBrush has tons of interesting brushes, I do almost all of my work just using the Standard, Clay Buildup, Dam Standard, and Move Topological. For the hair, I switched my brush style to "spray" and used one of the busier looking alphas. Since I gave a lot of space to the hair on my UV map, I was able to get some good detail in that portion of the sculpt.


Next comes the surface details. For this, I experimented with the layers function in ZBrush (possibly the first time I've ever touched it!). It was super handy in letting me keep all of the changes on a separate area that could be hidden or adjusted. As you can see, I added in the skin pores and lip cracks at a very high intensity. With layers, I could then tweak that visibility to get it down to a more subtle and realistic rate.


This is usually the tedious part where I have to bake out maps and retopologize the model to get it game-ready. Again, since this isn't going to be animated, I get to skip this part and continue working with the high poly model. For comparison though, I did export out the low res version to compare it with the base. Both models pictured above are using that same 3216 triangles, but as you can see the shape is now much different.


Now comes my favorite part - texturing the mesh! From here I bring my model over into Substance Painter to paint on all of that texture detail. I start things off by creating a fill layer across the whole model that will be my base skin layer. (I can't find the exact link to the one I use, but it should be linked in the official Substance tutorials if you're interested)


After the initial base layer is down, it's time to start adding some variation. I paint in the temperatures of the face. Generally the cheeks, nose, chin, lips, and throat have a warm reddish hue. Cold parts like under the eyes, under the nose, and under the lips get blue. Here's a good reference from Martin Guldaek that might help. After painting in those colors, it's important to blend them. I make another new layer with a slightly lighter skin color and start painting all over the face with a scratch alpha. This is referred to as "noodling." Once I'm satisfied, I fiddle  with the opacity sliders until I get something that looks nice and blended.


Once the skin starts coming together, I go to work on the mouth. I make sure to paint the gums before the teeth so I can be a little bit messier with them. The teeth are nearly a pure white with a super low roughness to get that shininess to them. Finding the right color for the lips can be a bit of a challenge, especially with a male character who is not wearing lipstick. You want something that stands out from the skin, but not too much that it looks unnatural. I used a pressure-sensitive opacity and blended a lot of colors together to get that nice salmon hue.


Now it's time to fill in the hair. Like the skin, I first put down a very basic fill layer. Frankie has pretty dark hair, but I used a slightly desaturated brown just so all of the details didn't get too washed out by the blackness. After that, I created an alpha of the part of the mesh colored with hair and used that as a mask. On my new mask I used a repeating curly hair texture and set it to my height map. This adds in a lot more fine details without having to physically go in and paint them by hand.


Once I toss the hat on and give the uniform some color, he actually starts to resemble the ball player we know and love. This part was a bit tricky to paint as there wasn't a ton of geometry detail down in his shoulders. Had this been a full character I wouldn't have ran into this challenge, but since I put most of the detail in his face it was a bit hard getting sharp lines on the shirt divisions.


It was a tough call deciding which uniform colors to go with. I'm not terribly fond of the block C logo, but I like that off-grey color of the away uniforms so I went with that 3rd color scheme.


Next I went back and worked some more detail into the skin. Something really important in PBR texturing (physically based rendering, not the cheap beer) is the roughness map. Painting this gloss texture in allows you to see all of the really fine details when the light passes over them. I made sure to plug in my roughness layer with my skin pores so that you get the really nice fine detail when you move the light around.


At this point, it's basically just putting in the finishing touches. After painting Lindor's facial hair, I went in and gave him eyebrows. (Amazing how alien a character looks without them!) I also painted some darkness onto the eye lash area, but I was careful not to go overboard and make him wear eyeliner. Lastly I pushed some of the shadow areas around the eyelids and in the nose crevices. I generally try to avoid painting in too many shadows unless I'm specifically going for a hand-painted look, but a little bit of darkness in these indented areas goes a long way.


Added the logo to the cap, modeled in Frankie's signature necklace, and added in a few more clothing seams. At this point, I decide to call him done. I could probably still tweak this thing for hours and hours, but it's important to know when to call something done. I wanted this model to have a quicker turnaround, so at this point I export out all of my textures and finish up.


After exporting everything out of Painter, I bring the model into Marmoset Toolbag for some fancy rendering. Toolbag has a lot of excellent lighting presets to view your model in different environments. I would definitely recommend it as a good way to showcase your models without dealing with lengthy light setups and rendering times.


It also has a lot of fun post processing effects that I like to play around with. It can be useful to view your model in different lighting, but most of all it's just plain fun to check them out.

All in all, I spent about 18 hours on this model. I didn't set a strict timer like I do with my freelance work, but I wrote down estimates at the end of each day. Here is a basic breakdown if you're interested:
  • Maya base modeling: 1.5 Hours
  • ZBrush sculpting: 6.5 Hours
  • Substance Painter texturing: 9.5 Hours
  • Toolbag/Photoshop Rendering: 1 Hour
Overall, this was a very refreshing project to kick off 2017 with. It had a pretty short turnaround and it was a great re-introduction to some of this software that I haven't used in a few months. It got me super motivated for what comes next and I already have a few ideas for similar projects I'd like to do in the coming weeks.

I know I wanted to keep things short and offer more blog posts, but I think this in-depth description of my process is useful as well. I plan to do something similar for the next project I post about, and I might even make a video. But speaking of videos, I'll leave you with a short turntable of this model. Thanks for reading my post. I hope it was informative and you enjoyed. Until next time... Adios!


Wednesday, January 4, 2017

My 2016 Wrap Up and Goals for 2017

Hey there! It's that time of the year again. Time to reflect on the past year and talk about plans for this upcoming 12 pages on the calendar. I spent a good deal of my posts this year going into detail about my 2016 adventures, so I don't want to write too much more about it. I do however want to show off some illustrations. My 2016 New Year's resolution was to spend more time on personal drawings with a goal of finishing one per month. While I didn't necessarily get the chance to draw one in each month (summer was really busy!) I did manage to create more than 12 illustrations. Some of these are animation stills or character sketches, but they all fall pretty closely into my personal illustration requirement.

January: Chozu Horror Comic Pen & Ink


At the start of the year, I got really into pen & ink and comic styles. I found a bunch of great references and decided to try my hand at it. It felt really good to work in a different medium and achieving those super dark blacks with a sharpie was very satisfying.

February: Pokemon 20th Anniversary Drawing & Team Slurpy Drawing


I already talked about this in length in my Leap Day post. Long story short, February was Pokemon month (though honestly, I've been pretty into Pokemon throughout this whole year). I decided to draw my teams from my Fire Red and Crystal playthroughs.

March: Stardew Valley Quickling


Really simple one here. In March I got a new Wacom One tablet and I wanted to try it out on a quick painting. I was obsessed with Stardew Valley at the time so it seemed like the perfect theme! After a few more months, I have to say that I am loving this tablet and I don't know why I put up with my off-brand one for all of these years. Definitely recommend it.

March: "Lonny Hacks the System" Animation Still Frame


This is a still frame from a short animation about Lonny and Gair. It is part of the Nays Gif Compilation project that my sister and I started in 2015. I should probably post the animations themselves at some point. For each one, I gave myself  a strict time limit of 2 hours to complete them. It was a fun way to experiment with different animation styles.

May - June: Nay Drawings


These are all drawing that I've posted before as well. They were drawn in late May / early June when I realized I was falling behind on my monthly goals. They all depict different characters from The Nays.

September: Pearlies Character Lineup


This is a gang of characters I created many years ago. They finally showed up in the recent storyline of The Nays, so I figured it was time to give them new designs. From left to right: Grellno, Poncho, Rocky, Bleek, and Capilstation. They all work for the World Leader of Compass World, Pearly Johnson.

November - December: Nays Gamishness Fake Screenshots


This is a really fun project called Nays Gamishness. I decided to take scenes from The Nays and recreate them as fake screenshots from various games. The first one is the scene in Chozu's past where his Uncle Moz gets hauled off for cheating a casino. It's in the style of Final Fantasy IV for SNES. The second scene is from the Return to Muko Inc Eventure when Elfno encounters a family of boxing-loving dolphin people. This one is done up in the style of Suikoden V for PS2. I've got a whole bunch more of these planned so I'll most certainly be sharing them into 2017.

December: "New Comp Returns" Animation Still Frame


Lastly, another still frame. This is from the Christmas present I made for my sister. The Nays are all lined up on their various devices, getting ready to join Yoisuf's new server.

Overall, this was a fun year-long goal. Working as a professional artist, it's easy to get caught up in working for clients and creating portfolio pieces without simply taking the time to draw for yourself. Even though some of these are pretty simplistic and not necessarily the type of work I would put in my portfolio, it felt good to just go back to my roots and draw for fun.

That said, it's time to plan out my goals for 2017. Rather than set an unrealistic specific goal that is destined to fall short (do X amount of Y each month... my schedule just fluctuates too much to dedicate to monthly goals), I'm instead going to set general guidelines that I would like to work towards.


2017 Goals


More Tutorials: It's important to keep learning new software and techniques, even out of school. I learn a lot from tutorials, so I want to make sure I keep expanding my skills. I was originally thinking of shooting for 1 tutorial per week as my overall resolution, but I don't want them to feel like a chore. With that number in mind though, I plan to learn a lot this year!

ZBrush / Substance Painter Combo: These two programs are becoming more and more integral to my process. I plan to further improve my comfort with this pipeline and really make these tools feel like second nature this year.

More Rigging: Rigging was something I used to hate in college, but in recent years it has become one of my strong suits. Artists with good rigging skills seem to be in demand, so I want to improve these skills even more and learn some useful new rigging techniques this year. I'm currently working on adding more non-humanoid rigs to my portfolio so more on that soon!

Overhaul My Website: It feels like I just redesigned my website recently but it has actually been over 2 years now. While I'm still a fan of the overall theme of the website, the functionality and ease of editing could use some work. I plan to rework a lot of the code, especially in the gallery section.

Shorter, More Frequent Blog Posts: I have a bad habit of trying to write an entire novel each time I make a blog post (just look at how long this post has gotten already!). That expectation that I have to write a ton of interesting information each time is always a big hurdle to updating my blog because I have to dedicate a lot of time whenever I post. I really want to get in the habit of writing much shorter posts so that I can update more frequently than a few times a year. This one is probably the toughest goal, but maybe this will finally be the year that I manage to get in the blog posting habit!

Thanks for making it all the way to the end of the post. I'm really grateful to have people checking out my artwork and supporting me as I do what I love. Ever since I started keeping a blog and writing down these goals, I feel like I have been a lot more motivated to stick to them. So I encourage you to share your own goals in the comments section, even if they're not art related. It really does help. Anyways, I'm planning to make 2017 the best it can be, and I hope you have a great year as well. Until next time... Adios!